The goal of How to do voiceovers is to sound natural and engaging. This is why it is important to always write out a script beforehand.
It’s also a good idea to do a test recording first to make sure everything lines up correctly.
This includes things like pacing and enunciation.
Recording
The best voice over software or app can produce a quality recording but the environment in which you record can have an even greater impact on the sound of your voice. A quiet room with little or no outside noise is ideal.
Speak clearly, and don’t mumble. A mumbled voice sounds unprofessional, and it can also be difficult to understand. A good way to warm up for a recording is by reading the script out loud, and this can help you get in the mindset of speaking clearly into the microphone. It’s also a good idea to pronounce words correctly, especially if you have a regional accent or pronunciation that may confuse your audience.
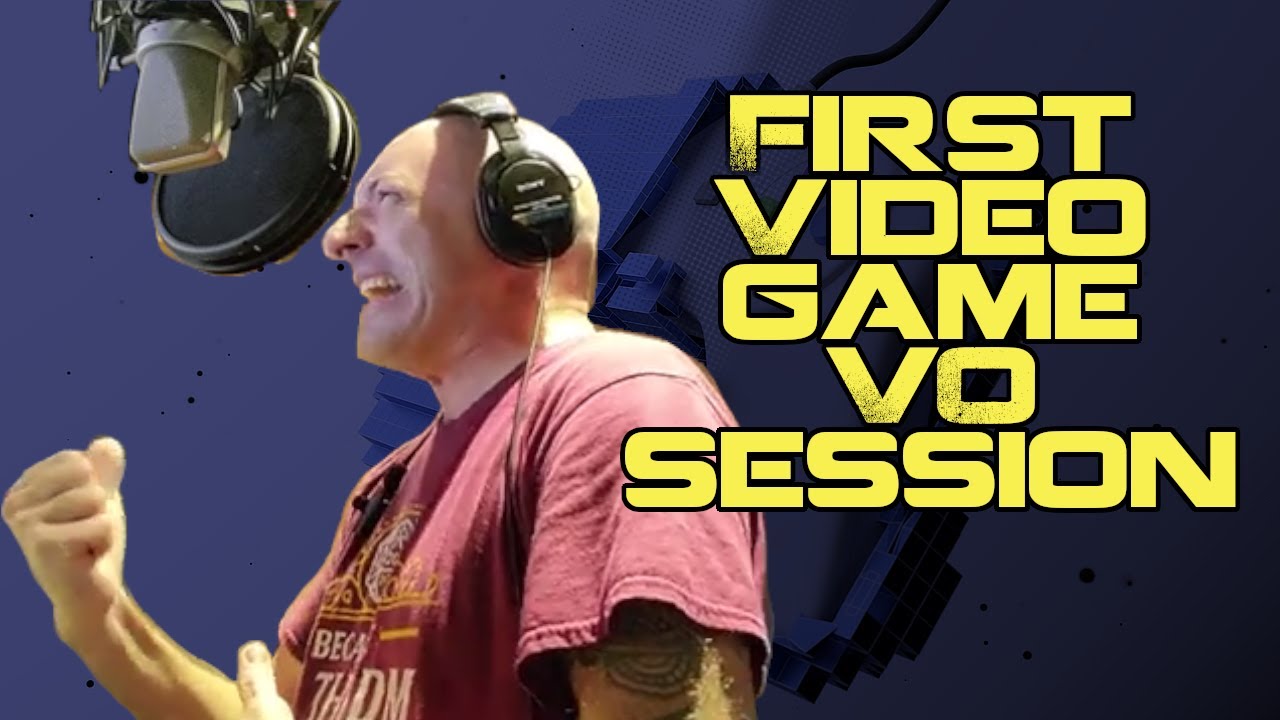
A pop filter is also very helpful when you’re recording a voice-over; it not only helps protect against plosive sounds but it can also serve as a visual guide to ensure the voice-over artist is standing at a consistent distance from the mic, which is important for the quality of the audio. Using a music stand for the script can also minimize paper rustling when it’s being read, which can be distracting to listeners.
Be sure to use a steady pace; speaking too fast can make it difficult to follow, while speaking too slowly will put the listener to sleep. It’s helpful to read the script at a few different speeds to find the right balance.
Editing
While some voice actors might not put much effort into editing their voice overs, true professionals understand that a high-quality recording goes through several stages of refinement. The first step is to remove any unwanted sounds, such as mic bumps, coughing, or stuttering.
Afterward, it’s time to edit the audio. It’s a good idea to write out a script before you start recording, which will prevent you from stuttering or saying filler words. Also, a script will help you stick to the main points of what you want to say in your video.
If you can, watch your video while you are recording your voice over to get a sense of how long you have and what pace to speak at. This way you can ensure your voice over is in synchronization with the video and that it’s delivering its message effectively.
Once you’ve finished editing your recording, you should save it and make a copy in the format you’re going to use. This is a good time to add compression to your audio, which will even out the volume and add a bit of finesse. This is how professional voice overs sound. You’ll see this style in video content all over the internet, from explainer videos on YouTube to TikTok vlogs. It’s engaging, on-brand, and very effective at capturing an audience’s attention.
Mixing
Creating an engaging, captivating professional voiceover takes more than just sound engineering. Just like a painter needs to know how to choose colors and brush strokes, a voice over artist also must understand how to create an impactful performance. This is why many voice over artists are also video producers. Whether you’re a YouTuber with an amazing recording setup or a studio-based professional, you need to follow the same steps for preparing, recording and editing your audio files to produce great voice overs.
A well-produced voiceover should be a balance of pacing, tone and emotions. It’s important to find that sweet spot where you aren’t too soft but also don’t over-enunciate and sound robotic. This can be tricky because it’s easy to lose energy when hearing your own voice.
Once you’ve cleaned up your audio file by removing mic bumps, coughs and mistakes (as well as adjusting the EQ), it’s time for some final touches. This usually involves adding compression. Compression evens out the overall vocal volume, adds a bit of clout and is a very useful tool for voice overs.
If possible, watch your video while you’re recording your voiceover to match up with the footage in your video. This will save you a lot of editing time later on. And it’s a good way to get an idea of how fast you need to speak to keep your narration in sync with the video clip.

